
There’s a particular kind of magic that happens when a kid climbs into bed and genuinely believes they’re setting sail for adventure. That’s the whole idea behind building a GIANT FOAM PIRATE SHIP BED — it’s not just furniture, it’s a stage set for imagination. I spent the better part of three months sketching, cutting, gluing, and rebuilding one of these for a friend’s playroom project, and I learned more about foam fabrication than I ever expected to. If you’re thinking about designing one yourself, whether for a themed bedroom, a daycare center, or a custom commission, here’s how the process actually unfolds from a blank notepad to a finished vessel a child can sleep in.
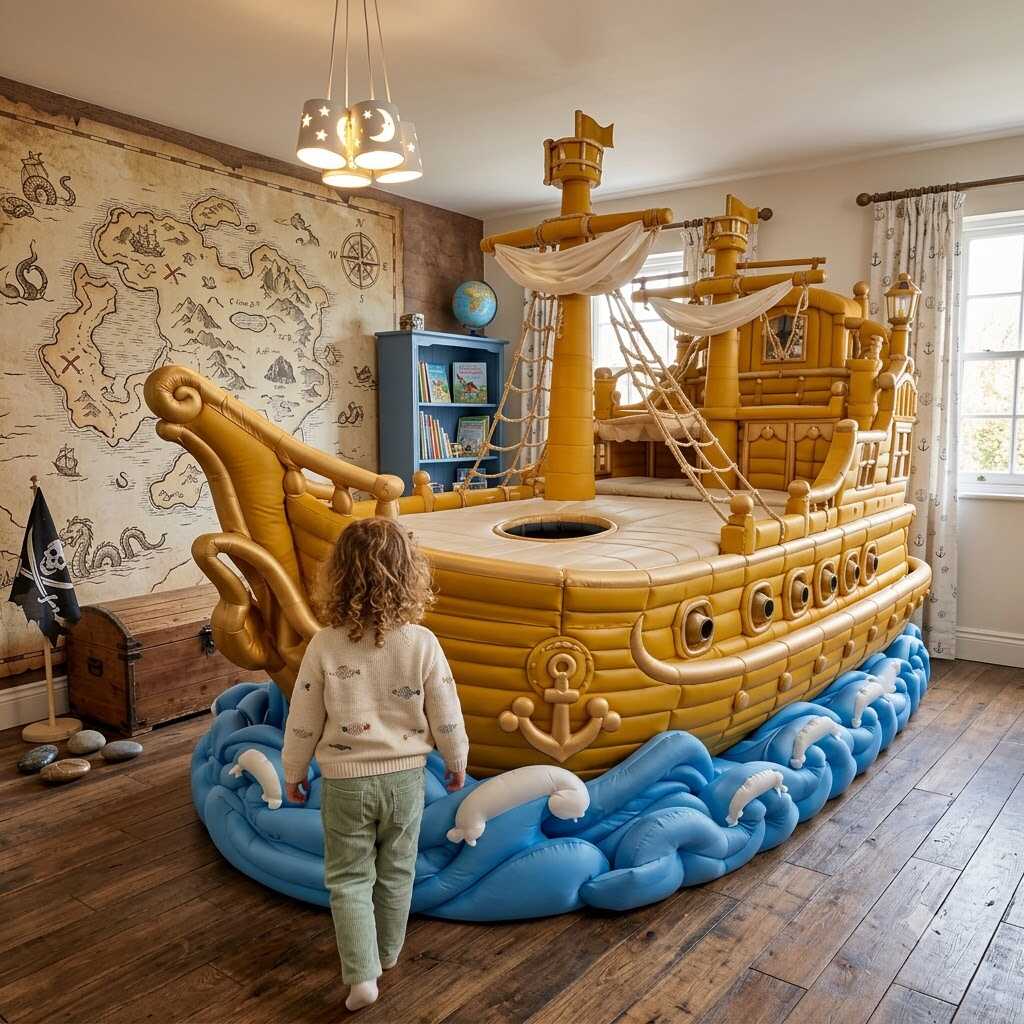
Starting With the Sketch: Why Rough Ideas Matter
Every good build starts messy. Before any foam gets touched, the design phase is where you figure out what “pirate ship” even means for this specific project. Are we talking a full galleon with a raised bow and stern, or a simplified dinghy shape that’s easier to scale down for a small bedroom? I always start with thumbnail sketches — five or six tiny drawings on a single page, none of them precious, just exploring proportions.
The trick with a PIRATE SHIP BED design is remembering that this object has to function as a bed first and a sculpture second. That means the sleeping platform dimensions dictate everything else. A standard twin mattress is roughly 39 by 75 inches, so the hull needs to be built around that footprint with enough clearance for safety rails, a mast, and any decorative elements like a plank or a crow’s nest ledge.
Once a rough shape feels right, I move to a scaled elevation drawing — front, side, and top view — so I can start calculating how much foam stock the build will actually require. This is also when I decide on the bow curve. A sharp, dramatic prow looks incredible in a sketch but can be a nightmare to carve symmetrically out of rigid foam sheets, so I usually soften the curve slightly for buildability without losing the swashbuckling silhouette.
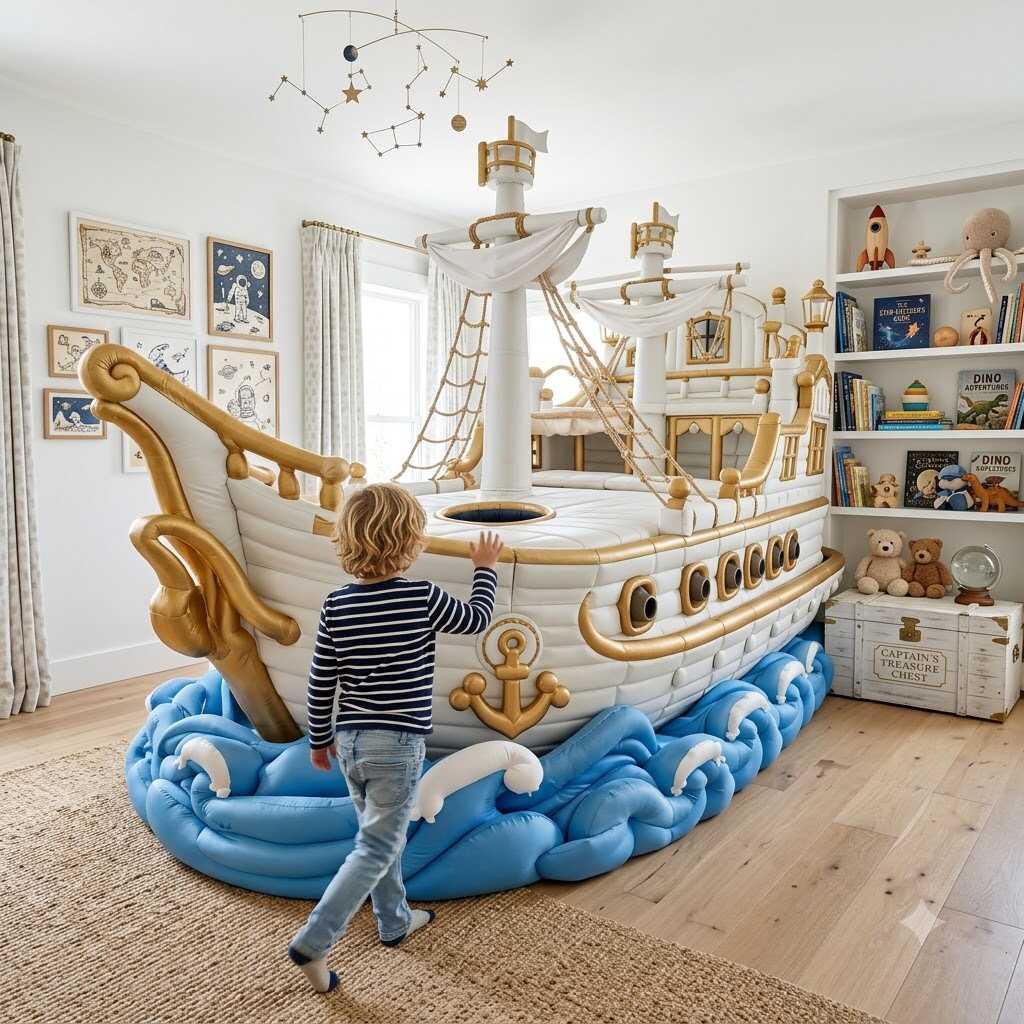
Choosing the Right Foam and Understanding Its Behavior
Not all foam is created equal, and this matters enormously once you move from paper to material. High-density expanded polystyrene (EPS) is the most common choice for large sculptural builds like this because it’s lightweight, holds detail reasonably well, and is far easier to shape than rigid polyurethane. For a GIANT FOAM PIRATE SHIP BED, I typically work with 2-pound density EPS blocks, which strike a good balance between carvability and structural resilience.
The hull itself usually gets built in layered sections rather than carved from one massive block — partly for material efficiency, and partly because a single giant block is nearly impossible to source, transport, or carve evenly. Instead, I laminate multiple 4-inch-thick sheets together using a compatible foam adhesive, building up the hull’s depth in horizontal layers like a topographic model. This layered approach also makes it much easier to hollow out interior space for the sleeping platform later, since you can simply leave certain layers uncut in the areas that need to remain solid for support.
Understanding how foam behaves under a hot wire cutter versus a hand rasp versus a angle grinder fitted with a foam wheel is its own small education. Hot wire tools are fantastic for straight or gently curved cuts along the hull’s main profile, while hand tools like rasps and foam files become essential for the fine shaping around the bow, the railing details, and any ornamental flourishes like a carved figurehead or plank edging.
Building the Internal Structure First
Here’s something a lot of first-time builders overlook: the internal skeleton has to come before the exterior sculpting really begins. Because this piece needs to support a mattress, a sleeping child, and the weight of the foam shell itself, I always build a lightweight internal frame out of furring strips or thin plywood ribs before laminating the foam sections around it.
This internal frame does two jobs. First, it gives the sleeping platform a rigid, load-bearing surface that isn’t relying on foam alone. Second, it acts as a registration guide while gluing up the hull layers, so everything stays aligned as the shape grows taller and more complex. I typically rout channels into the foam layers so the internal ribs sit flush, which keeps the exterior surface smooth once the shaping begins.
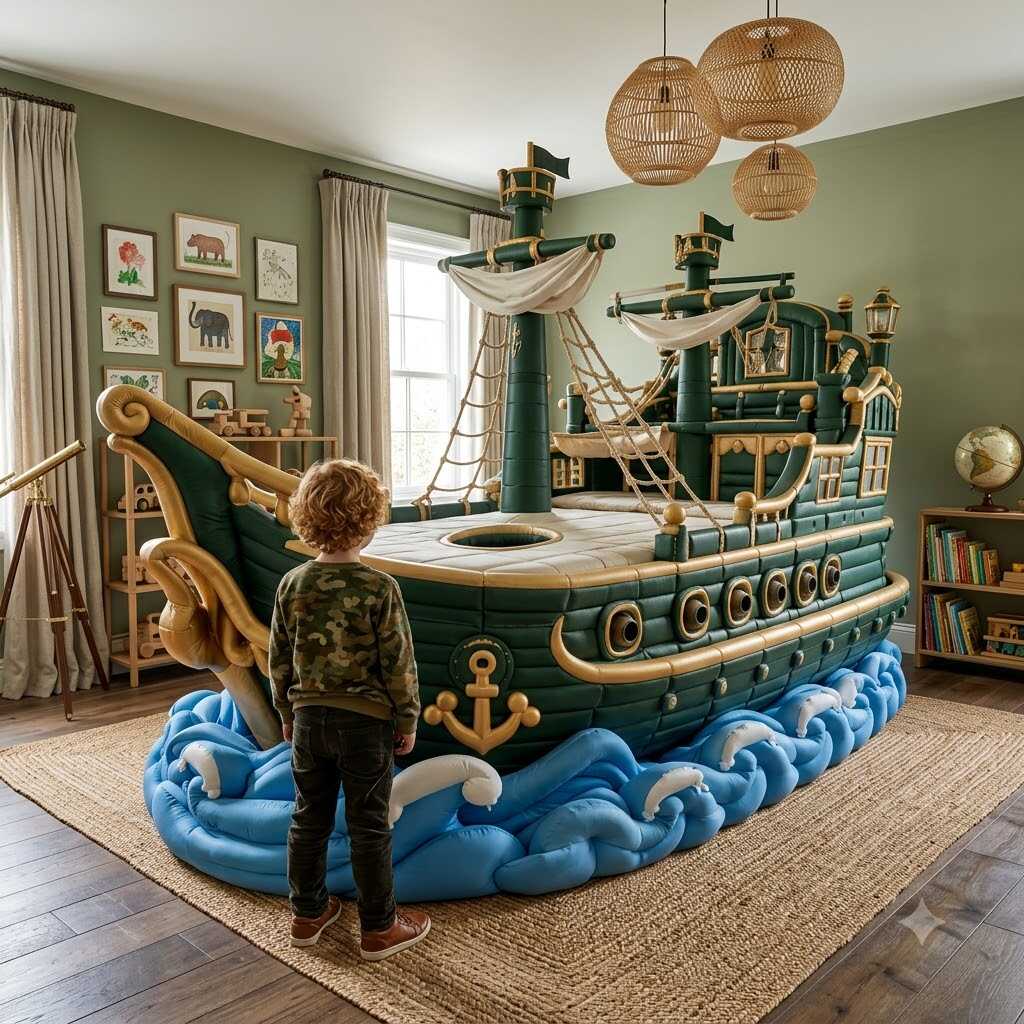
Shaping the Hull: Where the Ship Starts to Look Like a Ship
This is the stage where the project stops looking like a stack of foam blocks and starts looking like a PIRATE SHIP. Working from the rough silhouette outward, I use a hot wire cutter for the big sweeping curves of the hull sides, then switch to coarse-grit foam rasps to refine the bow’s taper and the gentle belly curve along the waterline.
Plank lines are one of the small details that make an enormous visual difference. Using a soldering-style foam cutter or a rounded router bit, shallow grooves get scored horizontally along the hull to mimic individual wooden planks. It’s tedious work, but it’s the difference between a shape that reads as “boat-ish” and one that genuinely reads as a ship.
The stern typically gets the most ornamental attention — a raised captain’s platform, decorative scrollwork, or a small stepped area that can double as a shelf. Meanwhile, the bow is usually left simpler, with the focus on a strong, clean curve leading up from the waterline.
Sanding, Sealing, and Surface Prep
Raw EPS foam is soft, crumbly at the edges, and not something you want exposed in a finished piece, especially one meant for a child’s bedroom. After the rough shaping is complete, the entire hull gets a pass with progressively finer sanding sponges to smooth out tool marks and knock down any rough transitions between sections.
From there, a rigid coating is essential. Most builders in this space use either a fiberglass-reinforced coating or a flexible elastomeric sealant designed specifically for foam sculpture. This coating step does a lot of heavy lifting: it protects the foam from dents and abrasion, gives the surface enough hardness to accept paint, and dramatically extends the lifespan of the piece. Two to three coats, with light sanding between each, usually gets the surface ready for detailing.
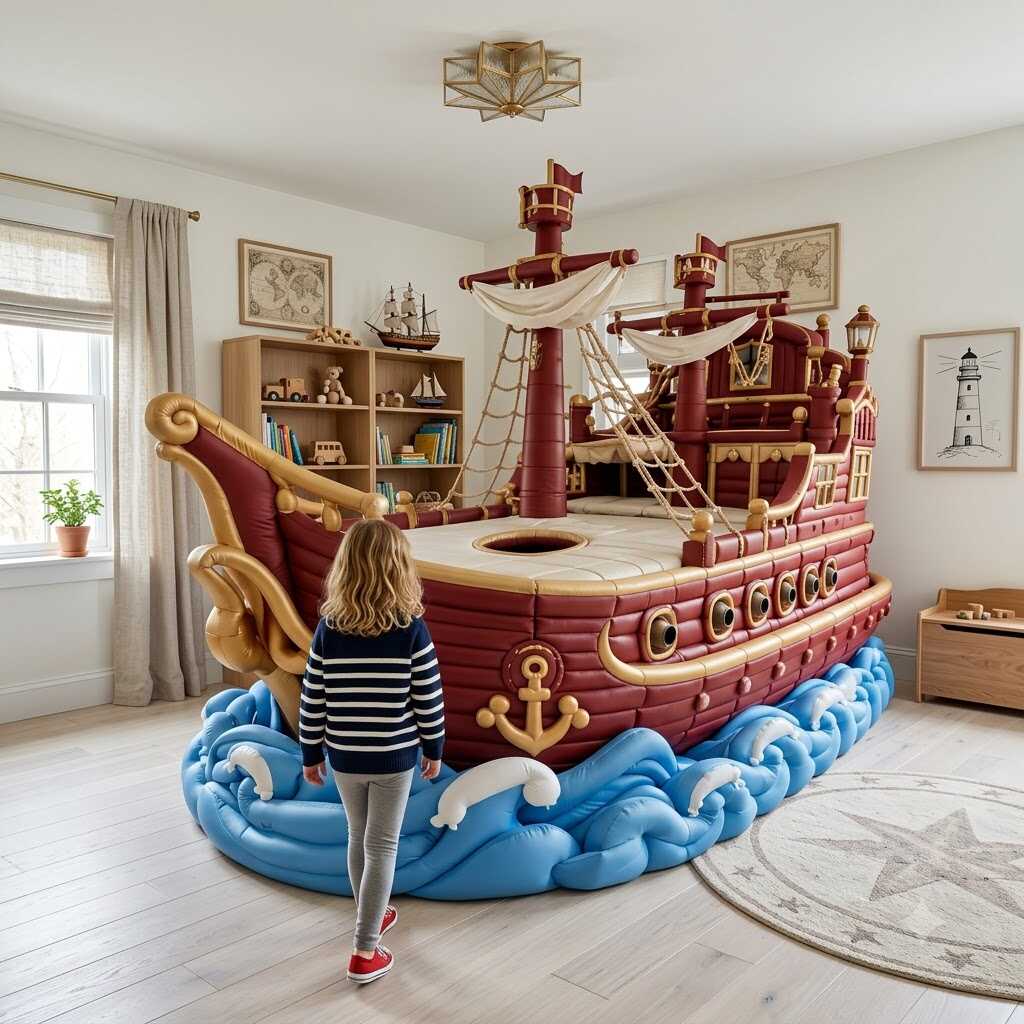
Painting and Final Detailing
Painting a project this size is its own undertaking. Acrylic latex paints formulated for foam and exterior use tend to hold up best, since they flex slightly with the foam substrate rather than cracking. I usually start with a base coat in the hull’s primary color, let it fully cure, then layer in weathering effects — subtle streaks, shading along the plank lines, and worn edges near the bow — to give the ship a lived-in, storybook character rather than a flat, uniform finish.
Small details go on last: rope trim along the railings, a fabric sail if the design includes a mast, and any final touches like a painted ship’s name along the stern. These finishing elements are what transform the piece from “large foam object” into something a child immediately recognizes and wants to climb aboard.
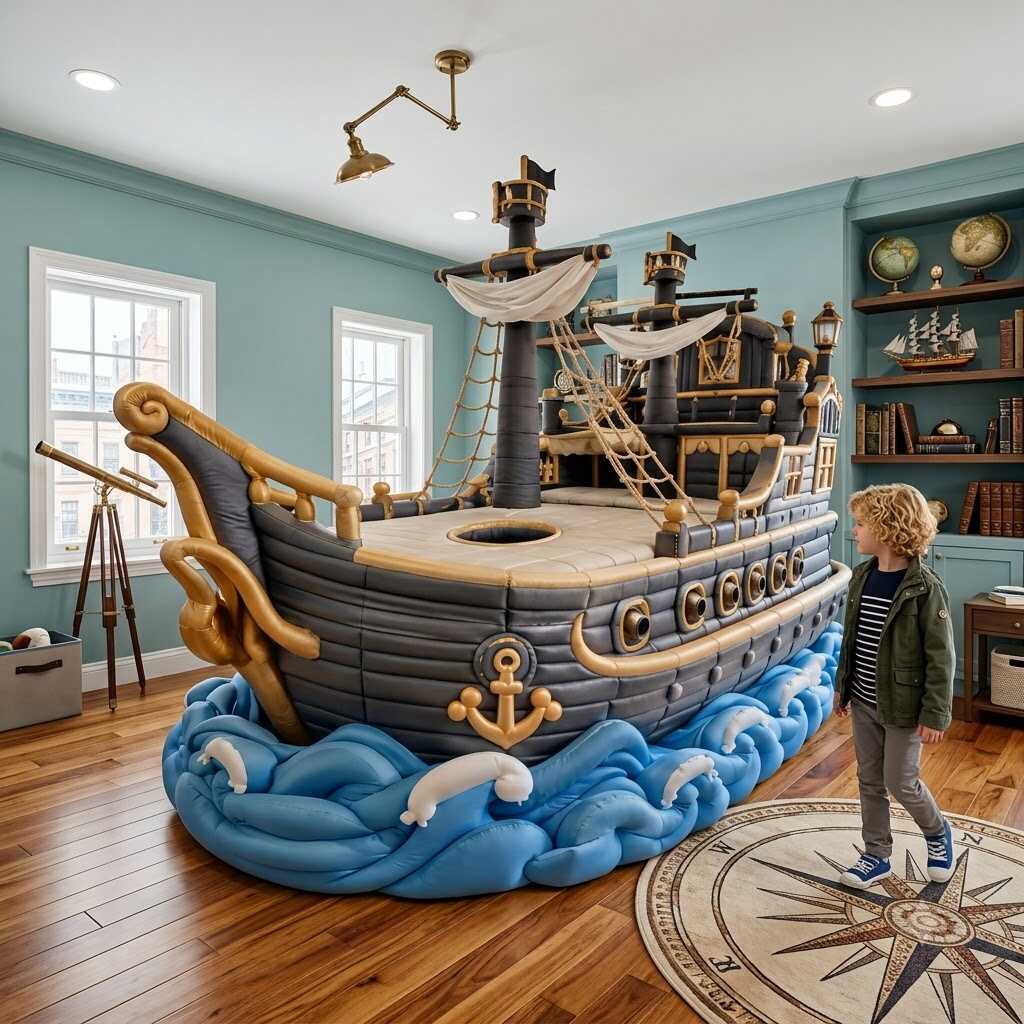
Bringing It All Together
Designing a giant foam pirate ship bed from sketch to finished structure is genuinely a blend of art and engineering. You’re solving proportion and silhouette problems on paper, then immediately running into very real material and load-bearing constraints once the foam comes out. But that tension is also what makes the process so satisfying. Watching a rough thumbnail sketch slowly become a full-sized ship that a kid can actually sleep in is one of those rare builds where the final result feels every bit as ambitious as it looked on paper.