
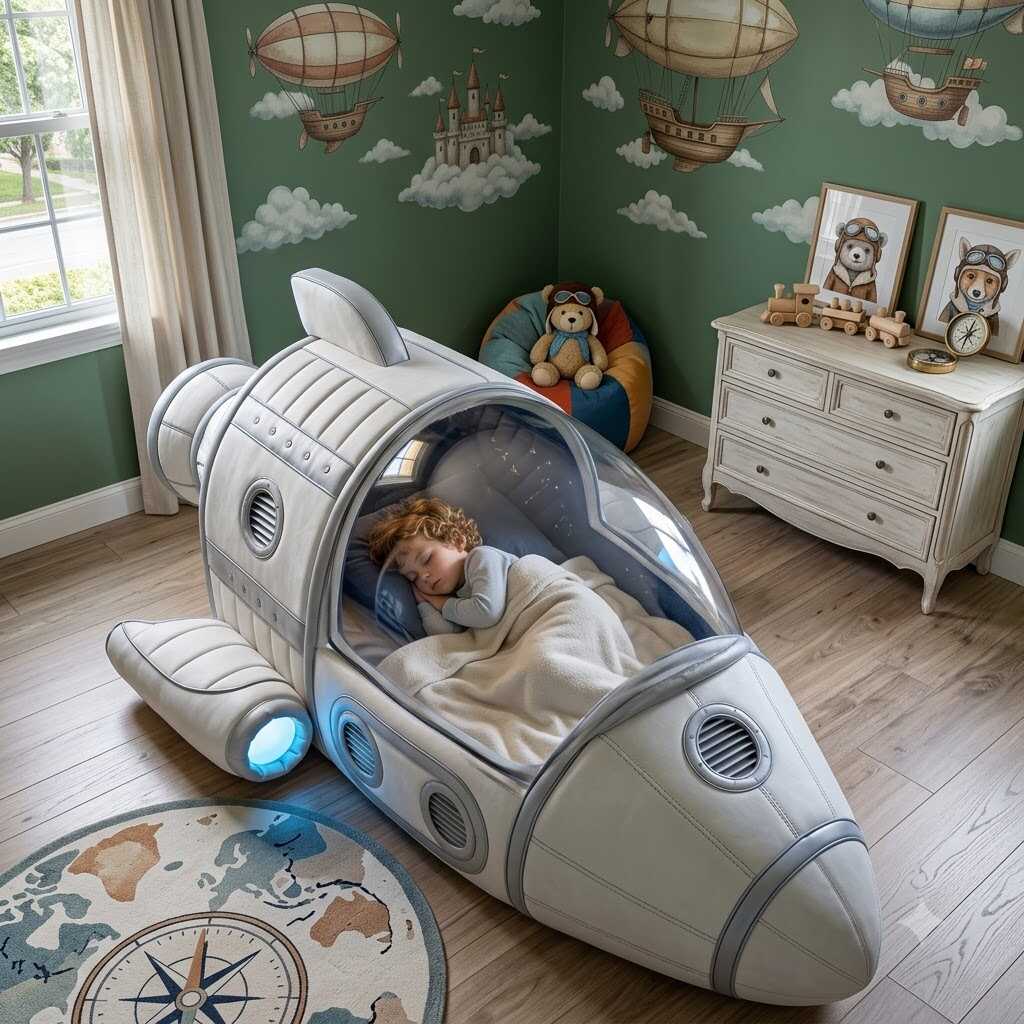
There’s a particular kind of joy that comes from watching a kid’s face light up when they climb into a bed shaped like a rocket ship. That reaction — half delight, half disbelief — is the entire reason behind the growing fascination with the Inflatable Spaceship Bed. But before any child ever bounces on the mattress or zips themselves into a cockpit-shaped headboard, there’s a long, occasionally messy design journey that gets the idea from a napkin doodle to a fully functional piece of furniture. I spent time digging into how these builds actually come together, and the process turned out to be far more technical — and far more human — than I expected.
Where the Idea Actually Starts
Every Inflatable Spaceship Bed begins the same way most strange, wonderful products do: with a sketch that looks nothing like the final result. Designers working in novelty furniture and inflatable structures usually start with rough silhouettes — a nose cone here, a set of stubby wings there, maybe a porthole window scribbled in the corner. At this stage, nobody is thinking about material weight or seam placement. It’s pure shape exploration, the kind of loose brainstorming where a dozen bad ideas are the price of admission for one good one.
What’s interesting is how much this early phase borrows from vehicle design rather than furniture design. Instead of thinking “how do I make a comfortable place to sleep,” the team is thinking “how do I make something that reads as a Spaceship in under two seconds.” Silhouette recognition matters enormously. A shape that’s too abstract just looks like a lumpy blob; a shape that leans too literal becomes impossible to manufacture as an inflatable at all. Finding that sweet spot between recognizable and buildable is where most of the early design meetings actually happen.
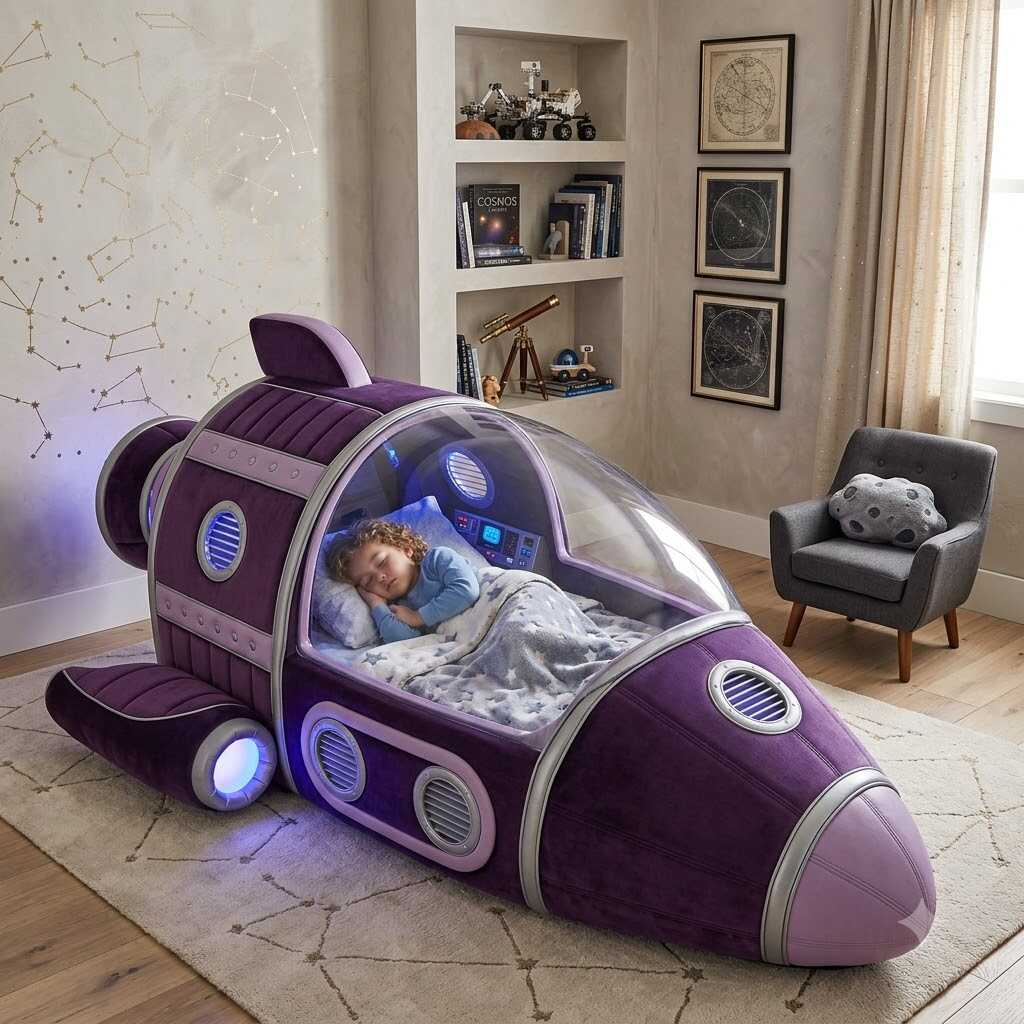
Translating a Sketch Into Something That Holds Air
Once a shape is chosen, the real engineering starts, and this is where inflatable design diverges completely from traditional furniture-making. A wooden bed frame just needs to be strong. An inflatable one needs to be strong, airtight, and structurally stable enough that a sleeping body doesn’t slowly sink into a soft, uneven mess by 3 a.m.
Designers typically break the sketch down into individual “chambers” — separate air pockets that, together, form the full shape. This is a deliberate structural choice. If the entire bed were one giant balloon, a single puncture would deflate everything at once, and the whole structure would lose rigidity instantly. By dividing the Spaceship into multiple internal chambers — the base, the raised headboard “cockpit,” the side rails that mimic wings or thrusters — a single leak becomes a minor inconvenience rather than a total collapse.
This chamber-based approach also solves a comfort problem. A single-chamber inflatable tends to feel bouncy and inconsistent, with air constantly shifting toward whichever side has the least pressure. Multiple smaller chambers, properly baffled and internally connected with fabric tethers, hold their shape far more evenly, which makes a huge difference when you’re trying to actually fall asleep on the thing rather than just admire it.
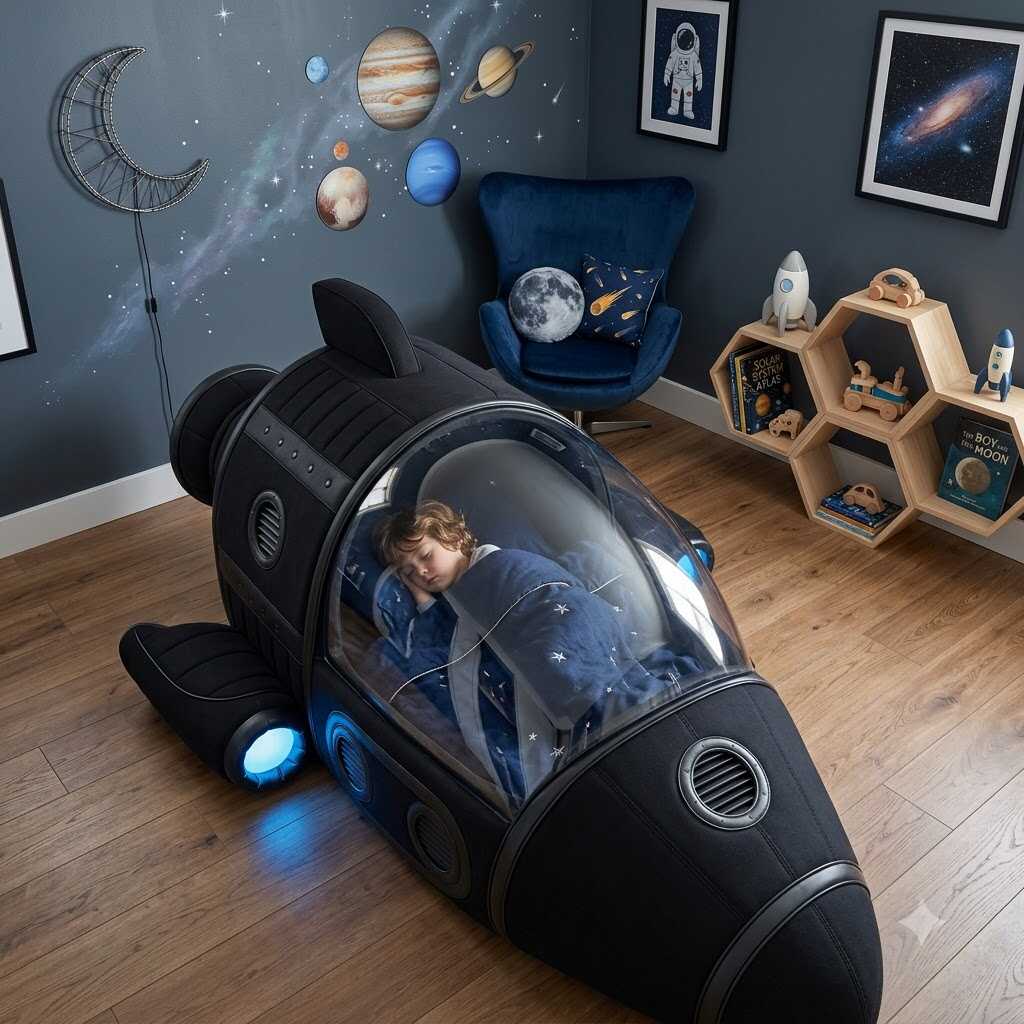
Material Choices Nobody Thinks About Until Something Goes Wrong
The material selection phase is where a lot of the “fun” novelty product suddenly becomes a serious engineering conversation. Most inflatable beds use some variation of PVC or TPU-coated fabric, chosen specifically because they resist puncture, flex without cracking, and can be heat-welded into seams rather than glued or stitched.
Heat-welding matters more than people realize. A sewn seam, even a well-reinforced one, has needle holes — and needle holes are tiny air leaks waiting to happen. Heat-welded seams fuse the material together at a molecular level, creating a bond that’s often stronger than the surrounding fabric. If you’ve ever wondered why a good inflatable product feels almost seamless in certain spots, that’s usually a heat-weld doing its job quietly and effectively.
Thickness is another quiet battleground. Thicker material is more durable and more puncture-resistant, but it’s also stiffer, heavier, and harder to fold into interesting shapes like a rounded nose cone or a curved wing. Designers spend a surprising amount of time testing different material gauges on prototype panels, feeling for that balance between “durable enough to survive a household” and “flexible enough to actually look like a Spaceship instead of a rectangle with ambitions.”
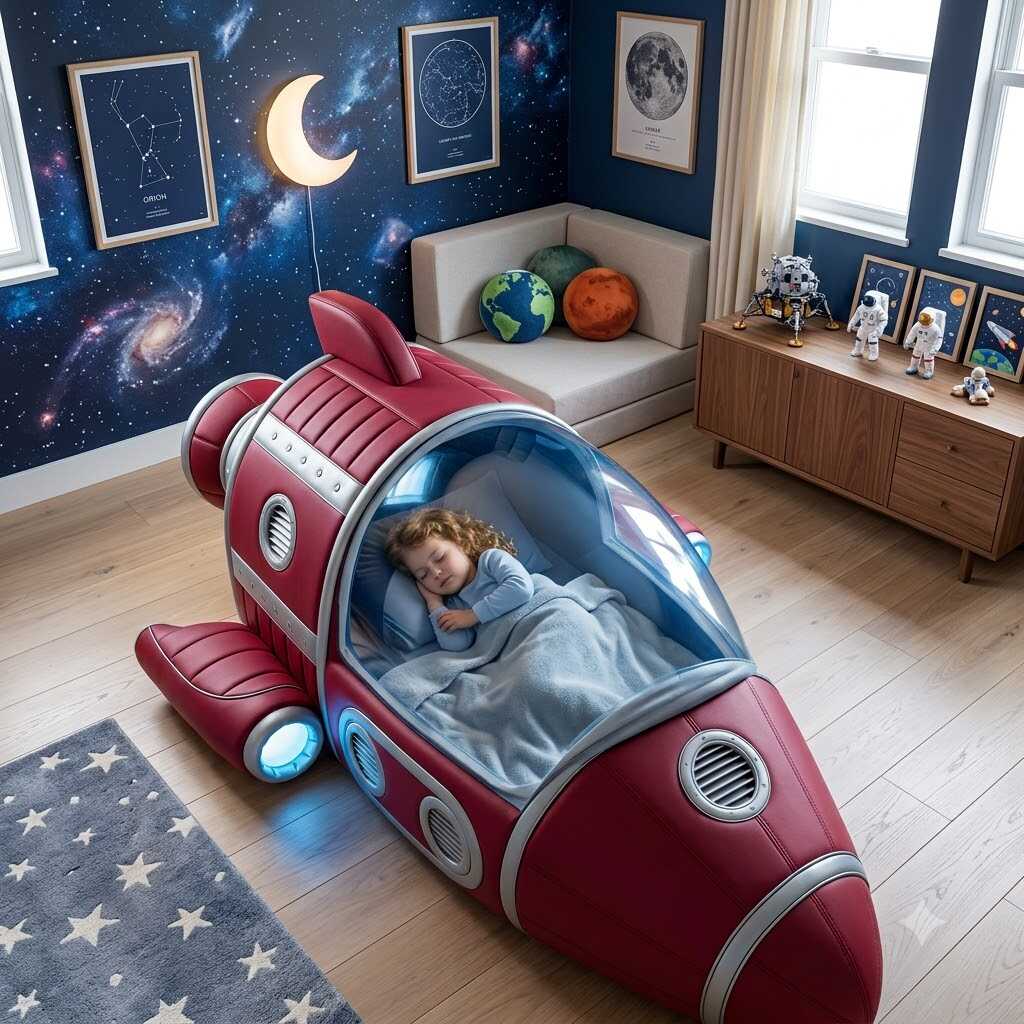
Building the First Physical Prototype
Digital modeling can only take a design so far. At some point, someone has to cut fabric, weld seams, and actually inflate the thing to see if the sketch survives contact with reality. This first prototype phase is almost always humbling. A shape that looked perfectly proportioned on screen might inflate lopsided, or a headboard that seemed sturdy in a rendering might sag the moment weight is applied.
This is where iterative testing takes over. Prototypers will often build a rough test chamber — not the full bed, just the tricky part, like the curved cockpit section — and inflate it repeatedly, adjusting panel shapes by small margins each time. It’s slow, unglamorous work: cut, weld, inflate, deflate, adjust, repeat. But it’s also the stage that separates a good-looking sketch from a genuinely comfortable, structurally sound Inflatable Spaceship Bed.
Weight distribution testing happens here too. A person doesn’t lie perfectly flat and evenly distributed; there’s more pressure at the hips and shoulders, less at the extremities. Designers test how the chambers respond to uneven pressure, checking whether the whole structure stays level or whether certain zones start ballooning upward while others flatten out.
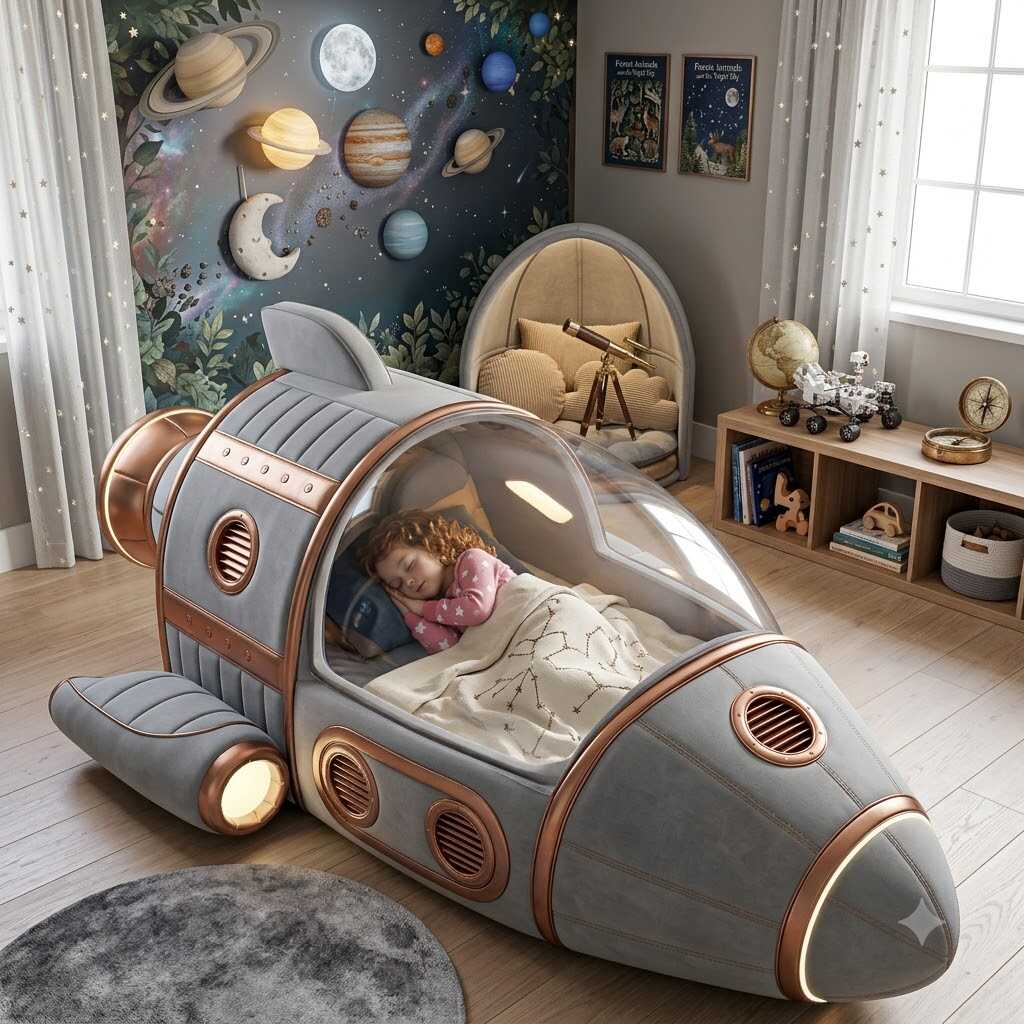
Small Details That Take Disproportionate Effort
The features that make a Spaceship bed feel genuinely spaceship-like are often the hardest to engineer. Porthole-style windows, raised control-panel textures on the headboard, contoured “engine” shapes at the foot of the bed — these details require precisely cut inserts, reinforced stitching or welding around curved edges, and careful attention to how the air pressure inside will affect the surface texture once inflated.
A flat painted detail is easy. A raised, three-dimensional detail on an inflatable surface is not, because the same air pressure that holds the bed’s shape also wants to smooth out any bump or ridge you’ve tried to build into it. Designers often solve this with internal baffling — small internal tethers that pull specific points inward, creating a dimpled or paneled look that reads as intentional design rather than a stray manufacturing flaw.
From Prototype to Finished Sleep Surface
Once the structural shape is locked in, attention shifts to the actual sleeping experience. A rigid inflatable base isn’t automatically a comfortable one, so most designs incorporate a separate mattress-style top layer — often a flocked or fabric-covered surface bonded to the main air chamber — to avoid the slick, sweaty feeling associated with older-style air mattresses.
Airflow and material breathability get tested at this stage as well, since a fully sealed vinyl surface can trap heat overnight. Small design choices, like flocked textile coatings instead of raw PVC on the sleep surface, make a noticeable difference in how the finished product actually feels to sleep on.
Conclusion
What starts as a rough sketch of a rocket ship eventually becomes a carefully engineered structure involving chamber design, material science, seam welding, and dozens of small prototyping cycles. The Inflatable Spaceship Bed is a good reminder that even the most playful, imaginative products hide a surprising amount of technical problem-solving underneath the surface. The next time you see one of these beds — nose cone, portholes, and all — it’s worth remembering just how many failed prototypes, adjusted seams, and late-night pressure tests it took to get that shape to hold its form and actually be comfortable enough to sleep in.